In late October 2022 we spent 9 days independently hiking the Annapurna Base Camp trail (ABC) with the add-on of Poon Hill. I kept track of all of our expenses which I will share below along with tips for the trek.

FIRST THINGS FIRST, INSURANCE
If you’re travelling abroad you should already have some sort of travel insurance but you need to check if it covers you to hike at high altitudes. For example some policies automatically allow you to hike up to 3000m elevation but if you’re planning a trek in Nepal it will most likely lead to heights of 4000-5500m. You’ll usually need to add an extra sports package to ensure you’re covered to hike at this altitude. Our insurance was asking for an additional £450 for the add-on which we weren’t happy to pay so we opted to hike to ABC as it just goes to 4130m.
WHAT THEY DON’T TELL YOU ABOUT THE ABC TREK
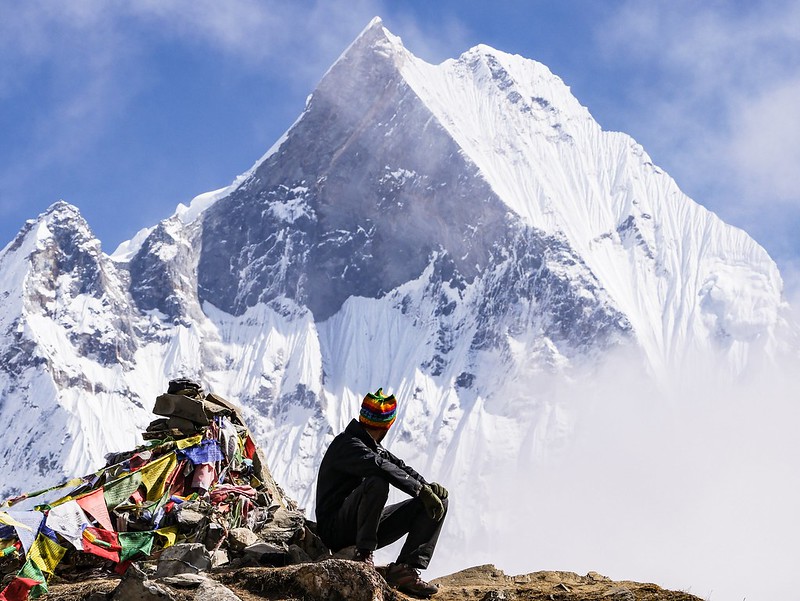
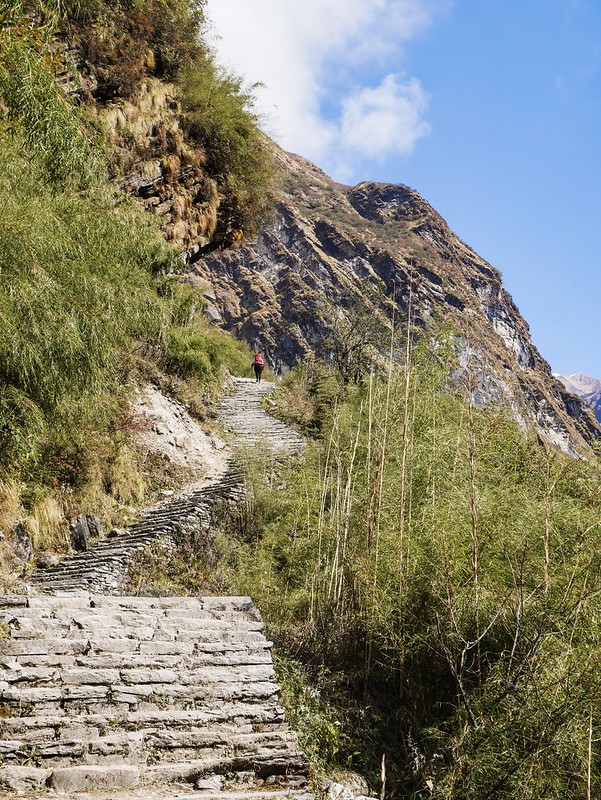
Did someone say steps?! I read quite a few blogs beforehand and I don’t remember reading much about the steps on the route. We went up AND down thousands and thousands of stone steps. My calf muscles were in agony and anyone that has knee trouble on hikes may find this trek rather painful. It’s not just the steps that are tough though, the trail loses elevation a lot so you’re constantly going all the way down to a river crossing and then straight back up. I personally prefer trails that are just gradually up and to be honest with the anmount of ups and downs we did on the ABC trek I felt like we’d climbed the equivalent of Everest…twice over! But, as always the views from the base camp made it all worthwhile.
WHAT SHOULD You EXPECT ON A TREK IN NEPAL?
If you’re going independently like us then you need to arrange a permit and TIMS card in Kathmandu or Pokhara which cost about 5000 rupees for both. You need to take along 4 passport photos.
Once you have your permits you can catch a bus or jeep to the start of your trail and that’s it, you’re hiking in the Himalayas! The trails are usually very clear to follow but it’s worth having Maps.me downloaded on your phone incase you’re ever unsure of the route.
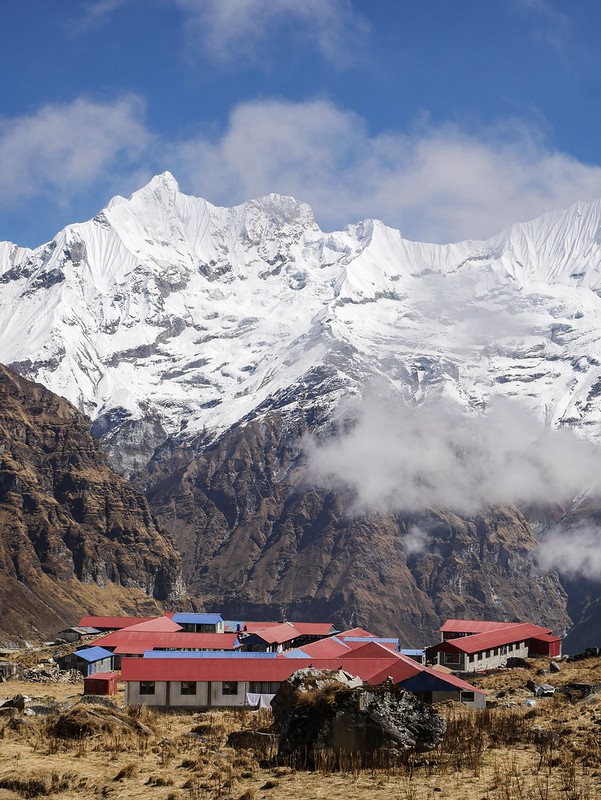
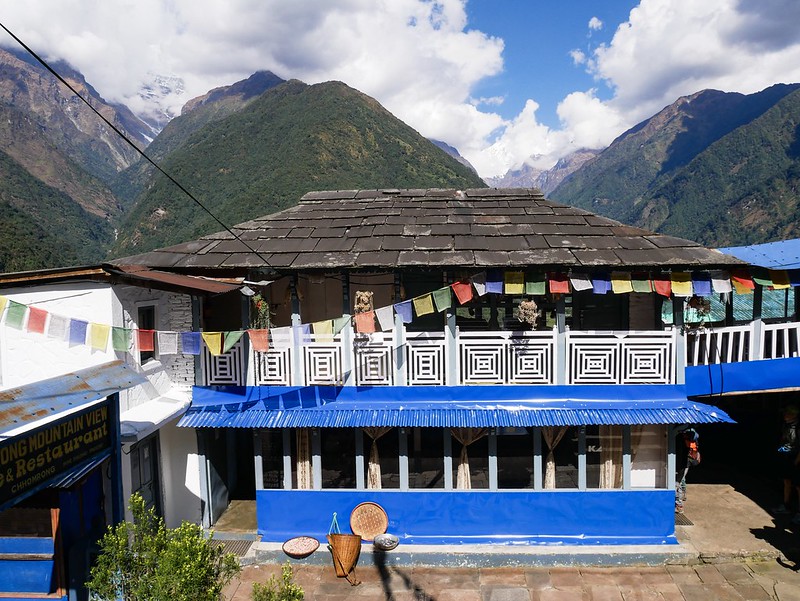
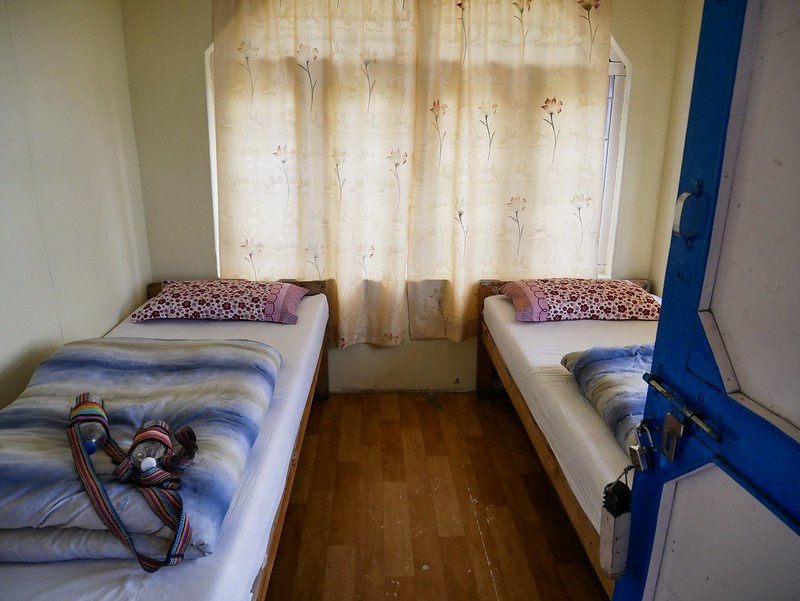
Along the trail are ‘teahouses’ which vary from beautiful rustic stone houses with a homestay vibe to modern concrete blocks which are like hotels. They’re basically tiny mountain communities that offer tourists a place to eat and sleep. All of them serve food so you can find a place for lunch along your hike. Prices vary and things become more expensive the higher up the mountains you go.


The food prices are not negotiable and are set by a local authority. Room prices tend to be negotiable though and you may find people offering you a free room if you agree to eat dinner and breakfast at their teahouse. It’s best to be discreet when discussing room prices, some people pay full price so the host will usually whisper their best offer so people who are paying more don’t find out. Rooms range from free to 1000 rupees but the most we paid was 400 rupees.

DO I NEED A GUIDE OR PORTER?
This is totally up to each individual. To be honest the ABC trail is so easy to follow that I just don’t know how a guide would help. They do sometimes call ahead to guarantee a room in a teahouse but we never had a problem finding a room on our own. As for a porter, it just depends how much you want to bring and if you feel comfortable carrying it all. We packed very light and didn’t find our bags too heavy.

WHAT SHOULD You PACK?
The key for cold climates is to dress like an onion, which means to layer up. We packed light so instead of taking extra clothes we just washed our sweaty gear after each day. If the weather is rainy however you may struggle to dry things but we had dry weather during late October. We both had 25 litre backpacks which have a waist strap to help distribute the weight.

HERE’S EVERYTHING I PACKED:
CLOTHES
Puffer jacket
Rain coat
Waterproof trousers
Hiking trouser
Shorts
2x T-shirts
Fleece jumper
Thermal top
Thermal leggings
2x sports bra
4x knickers
3x socks
Woolly hat
Sun hat
Gloves
Hiking trainers
Teva sandals
OTHER STUFF
Silk sleep liner
Waterproof bag cover
Flannel (acted as a miniature towel)
Embroidery (hobby)
Tampons and pads
Earplugs
Sanitiser
Sun cream
Moisturiser
Soap
Lip balm
Baby wipes
2x toilet rolls
10x chocolate bars
Camera
Telephoto lens
Camera batteries
Battery charger
Charging bank
USB plug and adaptor
iPhone cables
Water bottle holder
Headtorch
Sunglasses (very important to avoid getting snow-blindness)
EXTRA THINGS THAT CRAIG PACKED FOR US:
Water purifying tablets
Medical kit
Medicine (diarrhoea tablets, paracetamol, antibiotics, cold tablets etc)
Energy drink powder
Emergency silver blanket
Playing cards
2x toilet roll
10x chocolate bars
Bag of sugar
Tea
Coffee
IS THE WATER SAFE TO DRINK?
Absolutely not. You need to treat the water before drinking it. Some people opt for lifestraws or other filter systems but we used Aquatabs which are chlorine tablets. I can’t really taste the chlorine, their very light to pack and they work out to cost just 6 rupees (about 4 British pennies) per litre. So you really have no excuse and should NOT buy any plastic bottles on the route. We saw tourists buying water and it’s infuriating when there’s such a cheap alternative and it prevents extra plastic being added to the environment. Remember that these places don’t have rubbish collection or recycling services.
WHAT’S THE FOOD LIKE?
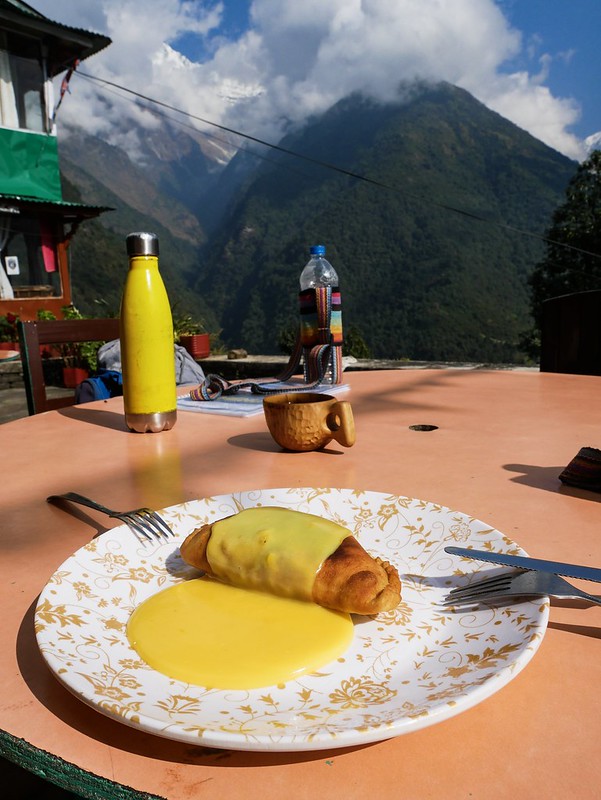
Every teahouse has basically the same menu. The most filling meal you can get is Dal bhat, the classic Nepali dish of rice, dal, potato curry, a popadom and pickle. Once you’ve finished your plate your host will come and refill your plate with more food until you’re full. We tended to have porridge for breakfast (around 400 rupees) Dal bhat for lunch (around 700 rupees) and fried rice or noodles for dinner (around 500 rupees).

We took our own flask along and paid for hot water (50 – 150 rupees for 750ml). Then we made our own strong, sugary coffee or tea and could enjoy it on the trail.
The general rule is to stay away from meat on the trail as there’s no refrigeration systems and the meat is carried up by porters. We smelt rotten meat being carried up and wondered which unfortunate soul would be fed that and spend the rest of their hike on a toilet.
We also stuck to local food except for one time when I got a delicious pizza in Himalaya and another time when we got apple pie and brownie in Chomrong…the key is to go to a busy place where their selling lots of food so it’s not sitting around for days. Generally speaking though the food is mostly made from scratch and it can take up to an hour to make. This is why it’s best to order your dinner and breakfast meals in advance at a set time.

TOP TIPS:
• Clouds tend to roll in by the late morning so it’s best to start hiking early to get the best views.

• If you hike the Poon Hill add-on then I would recommend starting with it as appose to doing it after ABC. The view of the Annapurna range is spectacular but less impressive than standing amongst the peaks at the base camp. Once you’ve been to the best spot you may not fancy the tough add-on to Poon Hill.
• Another point for Poon Hill, if you want a more tranquil sunrise view without the crowds and without paying the entry fee then you can get a similar view from the teahouses just above the village at the start of the trail, like ‘Super view Lodge & Restaurant’.

• Try to spend a night in Tadapani. We saw many people continuing down the valley for the night but they miss out on a spectacular sunrise view in the morning. We actually preferred this sunrise to the one at Poon Hill.

• Take a sleep-liner instead of a huge sleeping bag. Every teahouse provides blankets and sometimes they can provide extra ones if their not too busy. However if you’re hiking in peak winter you may want that extra warmth of a sleeping bag. In late October the blankets were plentiful for us.
• Most teahouses have showers, check if it’s included in the room price that you agree on. We had free showers every night except for at MBC but we didn’t sweat that day as it was quite cold so we just skipped a shower.
• You can charge your electronics in every guesthouse. Some have sockets in your room while others have communal ones in the dining all and sometimes they charge a fee.
• Make sure you take enough cash for the trek as there’s no ATMs available. If there’s bad weather/landslides etc and your plans change or you need to spend longer on the trail due to being sick or tired then you need to be prepared for that. From our experience all ATM’s in Nepal charge a 500 rupee fee so the best ATM to use is Nabil Bank which you can find in Thamel and Pokhara, as it allows the highest withdrawal of 35,000 rupees, while other banks only allow withdrawals up to 20,000 rupees.
OUR DAILY EXPENSES | Prices in Nepali Rupees for two people:
ENTRY FEES:
2x Permit: 6000
2x TIMS card: 4000
TOTAL: 10,000 rupees | £64
VILLAGE – ULLERI
Room: Free
2x Bus to Birethanti 500
2x Dal baat 1000
2x Porridge 400
TOTAL: 1900 rupees | £12
VILLAGE – GHORAPANI
Room: Free
2x Dal baat 1400
1x Dal baat 700
1x Fried rice 500
1x Porridge 400
1x Omelet and toast 410
1x Hot water 100
TOTAL: 3510 rupees | £23
VILLAGE – TADAPANI
Room: Free
2x Entry to Poon Hill 300
2x Dal baat 1400
1x Fried noodles 500
1x Curry and rice 600
2x Porridge 800
TOTAL: 3600 | £23
VILLAGE – UPPER SINUWA
Room: Free
2x Dal baat 1200
1x Coke 180
1x Pasta 550
1x Dal baat 620
2x Porridge 760
1x Hot water 100
TOTAL: 3410 rupees | £22
VILLAGE – DEURALI
Room: 400
2x Dal baat 1400
1x Dal baat 680
1x Fried rice 550
2x Porridge 840
2x Hot water 160
TOTAL: 4030 rupees | £26
VILLAGE – MACHHAPUCHHARE
Room: 300
2x Dal baat 1480
4x Hot water 500
1x Fried noodles 680
1x Dal baat 740
2x Porridge 940
TOTAL: 4640 rupees | £30
VILLAGE – UPPER SINUWA
Room: Free
1x Dal baat 700
1x Pizza 600
2x Hot water 170
1x Fried rice 520
1x Dal baat 620
2x Porridge 760
TOTAL: 3370 rupees | £25
VILLAGE – JHINU
Room: Free
1x Apple Pie 450
1x Brownie 380
3x Hot water 170
2x Dal baat 1200
1x Fried rice 500
1x Dal baat 600
2x Porridge 760
2x Hot spring entry 200
TOTAL: 4260 rupees | £27
VILLAGE – GHANDRUK
1x Hot water 50
2x Dal baat 900
2x Bus to Ghandruk road 300
2x Jeep Ghandruk to Pokhara 1500
TOTAL: 2750 rupees | £18
TOTAL COST FOR TWO PEOPLE/9 DAYS TREKKING: 41470 rupees | £267
I hope this guide has helped you plan your hike in Nepal. If you found it helpful and would like to show your support then you can click here to find out more.


Prices went up a bit since we were there 40 years ago 🙂
Oh I bet they have haha. Crikey, can’t imagine what it was like 40 years ago…we were in Nepal 10 years ago but that must’ve been quite an adventure in the 80s! Very cool!
I think that the change is minimal compared to the rest of the world. Still, the pie shops were there along the trail 40 years ago 🙂
Hello! Curious, but what lens (mm) you used for the shots on mountains and all? It look so good! All your sharing here are very informative; much appreciated! Thank you.
Hey! It’s a micro four thirds lens Olympus 75 to 150mm